
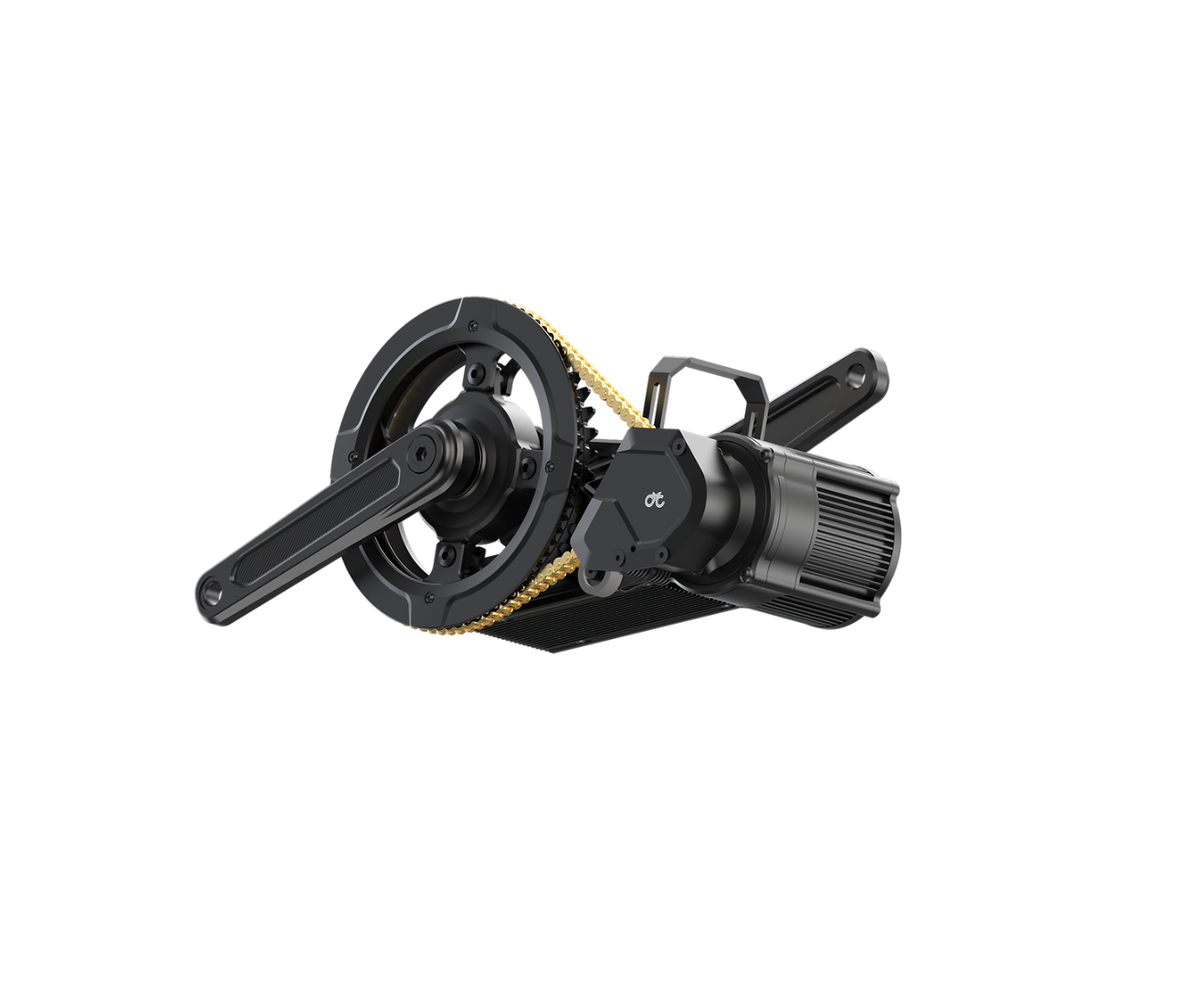
The CYC X1 Pro Gen 4 fits most bikes with a 68, 73, 83, 100 or 120mm threaded bottom bracket, plus BB92 press-fit. Whether it fits yours comes down to three things: the bottom bracket version you order, how the motor clears your down tube and chainstays, and the chainring combo. This guide walks through each one so you can order the right version the first time.
If you're still choosing between CYC kits, start with our Photon 2 vs Photon Pro vs X1 Pro Gen 4 comparison. This post assumes you've landed on the X1.
Step 1: Identify your bottom bracket
Take the cranks off and look at the shell. You need two things:
- Shell width, measured across the faces of the shell (not the cups or bearings). Typical widths are 68, 73, 83, 92, 100 and 120mm.
- Threaded or press-fit. A threaded (BSA) shell has threads cut inside it. A press-fit shell has smooth walls and the bearings are pressed in.
Step 2: Pick the matching X1 Pro Gen 4 version
The X1 Pro Gen 4 kit comes in four bottom bracket versions:
| Your shell | Version to order | Fit notes |
|---|---|---|
| 68, 73 or 83mm threaded (BSA) | 68/73/83mm | Ships with 3, 5 and 7mm spacers |
| BB92 press-fit | BB92 | Uses BB92-to-BSA adapters pressed into the shell |
| 100mm threaded (fat bike) | 100mm | Dedicated version for 100mm shells |
| 120mm threaded (fat bike) | 120mm | A spindle spacer goes between the left crank and the lock ring |
The BB92 version needs a press-fit tool to seat the adapters in the frame, and press-fit removal tools to get the old bearings out.
Have a different press-fit shell, like PF30, BB86 or PF107? CYC doesn't make a version for those. Send us your shell width and inner diameter before ordering and we'll tell you what will work.
Carbon frames with very thick shell walls can block a press-fit adapter. If that's you, send us the shell's outer diameter too.
Step 3: Check the chainline and Q-factor
The spacers set where the chainring sits relative to your cassette. These are the starting values from CYC's X1 Pro Gen 4 manual:
| Bottom bracket | Q-factor (mm) | Chainline (mm) | Left spacers (mm) | Right spacers (mm) |
|---|---|---|---|---|
| BSA 68 | 200 | 51 | 5 + 7 | 3 |
| BSA 73 | 200 | 50.5 | 3 + 7 | none |
| BSA 83 | 200 | 55.5 | none | none |
| BB92 | 220 | 55.8 | 5 | none |
| BSA 100 | 220 | 63 | none | none |
| BSA 120 | 240 | 74 | none | none |
The 100mm install steps also add one 5mm spacer on the left (non-drive) side. You can move spacers from one side to the other to shift the chainline a few millimetres. If the chain runs badly on your largest or smallest cog, that's usually the first thing to try.
The kit ships with 160mm or 170mm ISIS crank arms.
Step 4: Print the frame templates
This is the step that saves returns. CYC makes 1:1 printouts of the X1 Pro Gen 4 from both sides, with and without the controller: left view, left view with controller, right view and right view with controller.
- Print them at 100% scale (turn off "fit to page").
- Cut them out and hold them against the frame with the bottom bracket circle lined up on your shell.
- Check the down tube, the chainstays, any suspension linkage or pivot near the bottom bracket, and the kickstand plate if you have one.
If the template shows the motor body touching a tube, or a pivot sitting where the motor goes, send us photos of the bottom bracket area from both sides before you order. We ask for these on every full-suspension, fat bike and trike build.
Step 5: Choose the chainring combo
Each version comes with one of three chainring combos: 32T with a 53T motor ring, 38T with 63T, or 40T with 72T. The X1 uses its own chainring system, so a Lekkie or Bafang ring from a previous kit won't carry over.
A smaller front ring gives lower gearing, which helps on steep climbs and with heavy loads. A bigger ring gives more top-end speed per pedal turn. There are 1:1 printouts for each chainring combo on the X1 Pro Gen 4 product page, so you can check chainstay clearance for the ring size too.
Step 6: Make sure the battery and display can keep up
The X1 Pro Gen 4 runs from 36V to 72V. Two things to match:
- Display: the kit comes with a choice of SW102 or DS103 display. Both work up to 72V, so pick whichever layout you prefer.
- Battery current: CYC's X1 Pro Gen 4 manual rates the X12 controller at up to 110A of battery current, and CYC's product page lists it at 120A. That's well beyond what most e-bike battery packs are built to supply. Check your battery's continuous BMS rating before you ride. Our e-bike battery guide explains how to match the BMS to the controller. If you're unsure about your pack, send us its BMS rating and we'll check it.
Moving the kit to another bike later
If your next frame has a different shell, you don't need a new motor. The X1 Pro Gen 4 Bottom Bracket Conversion Parts switch between 68mm, 100mm, 120mm and BB92.
Watch the X1 Pro Gen 4 install
Our step-by-step installation of the X1 Pro Gen 4:
Frequently asked questions
Will the X1 Pro Gen 4 fit a 73mm bottom bracket?
Yes. Order the 68/73/83mm version. The 73mm setup uses the 3mm and 7mm spacers on the left side.
Which version do I need for a fat bike?
Measure the shell. A 100mm shell takes the 100mm version and a 120mm shell takes the 120mm version. For a press-fit fat bike shell, send us the width and inner diameter first.
Can I use my old Bafang or Lekkie chainring?
No. The X1 Pro Gen 4 uses its own chainring and motor ring combo.
Does it fit full-suspension bikes?
Many, but the linkage near the bottom bracket is the usual problem. Print the 1:1 templates and send us photos if anything looks close.
How much does the kit weigh?
CYC lists the X1 Pro Gen 4 at 5.6 kg.
Share:
CYC Photon Gen 2 & Photon Pro Chainring Adapter Removal (Video Guide)
How to Install the CYC Photon Pro Mid-Drive Kit: Tools, Spacers, Torque Specs and Wiring